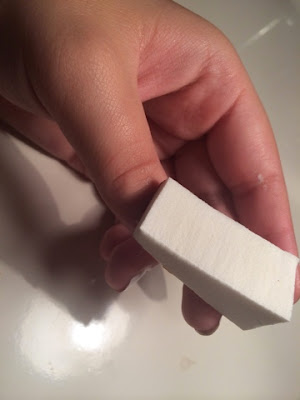
First off you will need white, red, orange, yellow and black nail polish, top coat nails polish, a makeup sponge and a nail file.
Next file down your nail and apply a base coat (unfortunately I did not have any so I skipped this step). Then apply the white nail polish making sure it is not sheer and is opaque as it will not work if it is.
Next take the three colours and apply them to the sponge slightly overlapping each of them. You may need to apply a few coats.
Place the sponge over your thumb and rock it back and forth then dab it until you are satisfied with the way the colours are blended.
Warning it does create a mess over your skin as you can see in the picture so after you will want to take the excess off but first complete this step on all nails. You may need to add more coats of nail varnish onto the sponge.
Here you can see I have repeated the steps over all my nails and it does get quite messy.
The next step I have cleaned around the nails and this picture shows you better the outcome I was happy with. You can leave it here and like I said you can change the colours to suit the occasion or outfit. If this is what you wish to do apply a top coat just to protect the nails.
Next I painted triangles onto my nails just to add a little bit extra. Next you'll want to apply a top coat just to add a protection and then bam you're done with your nails which with a little more effort look amazing.
I hope you enjoy these nails and if you try them out tweet me a photo. You can find my details at the "About Me" page.


I really like the first tutorial-ombre shade. Great job and keep up the good work.
ReplyDeleteLEJA
Thanks so much it means a lot :)
Delete